Creating a Custom NextAuth.js Adapter Powered by Outerbase Commands
Learn How to Create a NextAuth.js Adapter That Meets Your Requirements


Table of contents
Introduction
In the rapidly evolving landscape of web development, Next.js has risen as a beacon for building performant, server-rendered React applications with ease. It's now recommended by the React team. Its modular architecture, combined with its out-of-the-box optimization, offers developers both flexibility and performance. However, every modern web application's backbone, regardless of the technology stack, is its authentication system.
Enter NextAuth.js - a powerful, minimum-config tool designed explicitly for Next.js (at first), providing a seamless authentication layer to any application. While NextAuth supports various providers and databases, the magic truly shines when you create a new Adapter to meet your specific needs. Outerbase revolutionizes the traditional database interaction by offering you the ability to choose how you view your data and giving you the ability to perform CRUD operations to your data through its Command system. We'll focus on Outerbase Commands in this article.
Prerequisites
Before diving into the tutorial, it's essential to ensure that all necessary tools and accounts are in place. Having these prerequisites ready will ensure a smooth code-along experience:
Node.js and npm: Ensure that you have Node.js installed on your machine. This will come bundled with npm (node package manager), which we will use to manage our project's dependencies. If you haven't installed it yet, grab the latest version from Node.js official website.
Next.js: Familiarity with Next.js basics will be helpful, but even if you're a beginner, you can still follow along. If you've never worked with Next.js before, the official documentation provides an excellent starting point.
Outerbase Account: You'll need an Outerbase account to harness its powerful command-centric approach. If you haven't registered yet, create your free account on Outerbase's beta website.
Neon Database Provider: You'll need a PostgreSQL database hosted online. We will use Neon will act as our database provider instead of Outerbase's SQLite database.
Code Editor: Any code editor or IDE of your choice. VS Code is recommended due to its extensive feature set and excellent TypeScript support.
With these prerequisites in place, you're all set to embark on this exciting journey of creating a custom NextAuth.js adapter powered by Outerbase commands.
Getting Started
Before we dive into the actual setup of our project, we need to ensure we have all the prerequisites in place. This involves setting up accounts, obtaining keys, and more. Let's walk through each step:
Google OAuth Setup:
Navigate to the Google Developer Console.
Create a new project.
Head over to the OAuth consent screen and configure it.
Once that's done, go to 'Credentials' and create new OAuth 2.0 Client IDs for a web application.
Take note of your
Client IDandClient Secret, as we'll need them later.
GitHub OAuth Setup:
Go to your GitHub Developer settings.
Click on 'New OAuth App'.
Fill in the required details.
After creating, you'll be presented with a
Client IDandClient Secret. Keep these safe.
Neon Database Setup:
Head to Neon and create an account (if you haven't already). You can skip this step if you already have a provider you're using. Just make sure you have the connection string.
Set up a new project.
At the end of the setup, you'll be provided with a database connection string. Take note of it. Don't worry about the tables needed and their structure. We'll get to it in a bit.
Uploadthing Setup:
Create an account on Uploadthing.
Create an app.
Navigate to your dashboard to obtain your API key. This key will be vital when we want to use the Uploadthing SDK in our Next.js app for uploading and storing profile pictures.
Storing Credentials: With all these keys and secrets, it's essential to keep them safe and not hard-code them into our app. For now, store them somewhere secure. We'll be setting up a
.env.localfile in our Next.js project to manage these environment variables, ensuring they remain private.
With these steps completed, we're geared up to kick off our project. In the next section, we'll lay down the structure of our Next.js application and start our journey into creating a seamless authentication flow powered by NextAuth.js and Outerbase.
Project Setup
Setting up the foundational structure for our application is crucial, but creating everything from scratch can be a bit tedious. To streamline this process and ensure we're all on the same page, I've prepared a starter repo that contains the initial structure and necessary configurations. This article would focus more on Outerbase Commands and the custom NextAuth.js adapter. Let's get it set up on your local development environment:
Clone the Starter Repo:
Start by cloning the provided starter repository to your local machine. Use the following command in your terminal or command prompt:
git clone https://github.com/omzi/next-auth-outerbase-starter.gitNavigate to the Project Directory:
Once cloned, change your current directory to the newly cloned project:
cd next-auth-outerbase-starterHere's the folder structure you should have: blah blah blah
Install Dependencies:
Our project will need several libraries and packages to function correctly. Thankfully, these are already listed in the
package.jsonfile of the starter repo. Install them using:npm installSetting Up Environment Variables:
Remember the credentials we saved in the "Getting Started" section? It's time to put them to use. In the root of your project, you'll find a file named
.env.local.example. Rename it to.env.localand open it in your editor.Populate the respective fields with the credentials you've saved:
 NODE_ENV = # Environment in which your application is running (development, production, or test)
 NEXTAUTH_SECRET = # Secret used to encrypt NextAuth session data
 NEXTAUTH_URL = # The full server address including protocol (http/https) and port if not default
 OUTERBASE_COMMAND_ENDPOINT = # Endpoint to which Outerbase commands will be sent for execution
 UPLOADTHING_SECRET = # Secret key provided by Uploadthing to authenticate your application
 UPLOADTHING_APP_ID = # ID of your application on Uploadthing
 GITHUB_CLIENT_ID = # Client ID for your application from Github's developer portal
 GITHUB_CLIENT_SECRET = # Client Secret for your application from Github's developer portal
 GOOGLE_CLIENT_ID = # Client ID for your application from Google's developer console
 GOOGLE_CLIENT_SECRET = # Client Secret for your application from Google's developer console
Running the Application:
Now that everything's in place, you can start your development server:
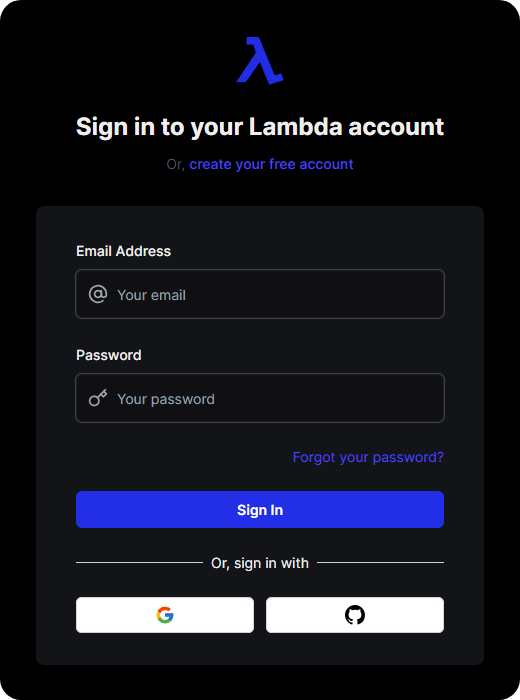
npm run devThis command will fire up a local server, typically accessible at
http://localhost:3000. Open this link in your browser, and you should see the starter application in action!
You're now set with the initial structure, and all the key components are integrated. In the upcoming sections, we'll dive deeper into configuring NextAuth.js with our chosen providers, and how Outerbase Commands can power up our authentication flow.